研究目的
To identify and understand the pore formation mechanisms during the LPBF additive manufacturing process and high energy density laser welding, aiming to mitigate their formation and improve part reliability.
研究成果
The study presents direct observation of different pore formation mechanisms during the LPBF additive manufacturing process through in-situ high-speed high-energy x-ray imaging experiments. Six pore formation mechanisms were identified, including three new mechanisms not previously reported. The findings could inspire and guide the 3D printing community to develop new approaches to reduce pore density and improve part reliability. The results also have implications for deep penetration laser welding.
研究不足
The study focuses on the observation of pore formation mechanisms during the LPBF process and high energy density laser welding. The experiments were performed under specific conditions and materials, which may not cover all possible scenarios in industrial applications. The random melt flow behavior observed in some experiments lacks a clear explanation.
1:Experimental Design and Method Selection
High-speed high-resolution x-ray imaging was used to study the pore formation mechanisms inside the melt pool during LPBF in real time. The x-ray imaging system included a miniature powder bed system clamped between two glassy carbon walls. A pseudo pink x-ray beam was used to penetrate through the metal sample for imaging.
2:Sample Selection and Data Sources
Four types of materials, including Ti-6Al-4V, Al6061, pure aluminum with purity of 99.99%, and AlSi10Mg, were used as the substrates. Three types of powders, including AlSi10Mg, Ti-6Al-4V, and Ti-6Al-4V, were studied.
3:List of Experimental Equipment and Materials
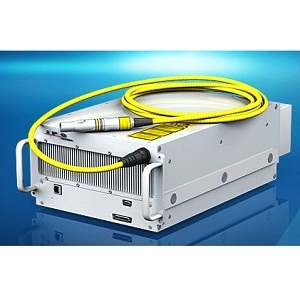
A continuous-wave (CW) ytterbium fiber laser (IPG YLR-500-AC, IPG Photonics, Oxford, USA, wavelength of 1070 nm, maximum output power of 520W) and a galvo scanner (IntelliSCANde 30, SCANLAB GmbH., Germany) were integrated to perform single track laser melting and stationary laser melting on both powder bed and bare substrate under various laser powers and scan speeds.
4:Experimental Procedures and Operational Workflow
The experiments were performed in a stainless steel chamber, under argon protection of 1 atm. The thicknesses of the substrates were varied between 0.35 mm-1 mm. In the experiments with the powder bed, the powder layer was spread manually with the thickness of ~100 μm.
5:Data Analysis Methods
The recorded images were processed frame by frame using ImageJ. To identify the melt pool and vapor depression boundary from pores, the raw x-ray images were primarily processed to reduce noise and enhance the contrast.
独家科研数据包��,助您复现前沿成果�����,加速创新突破
获取完整内容


